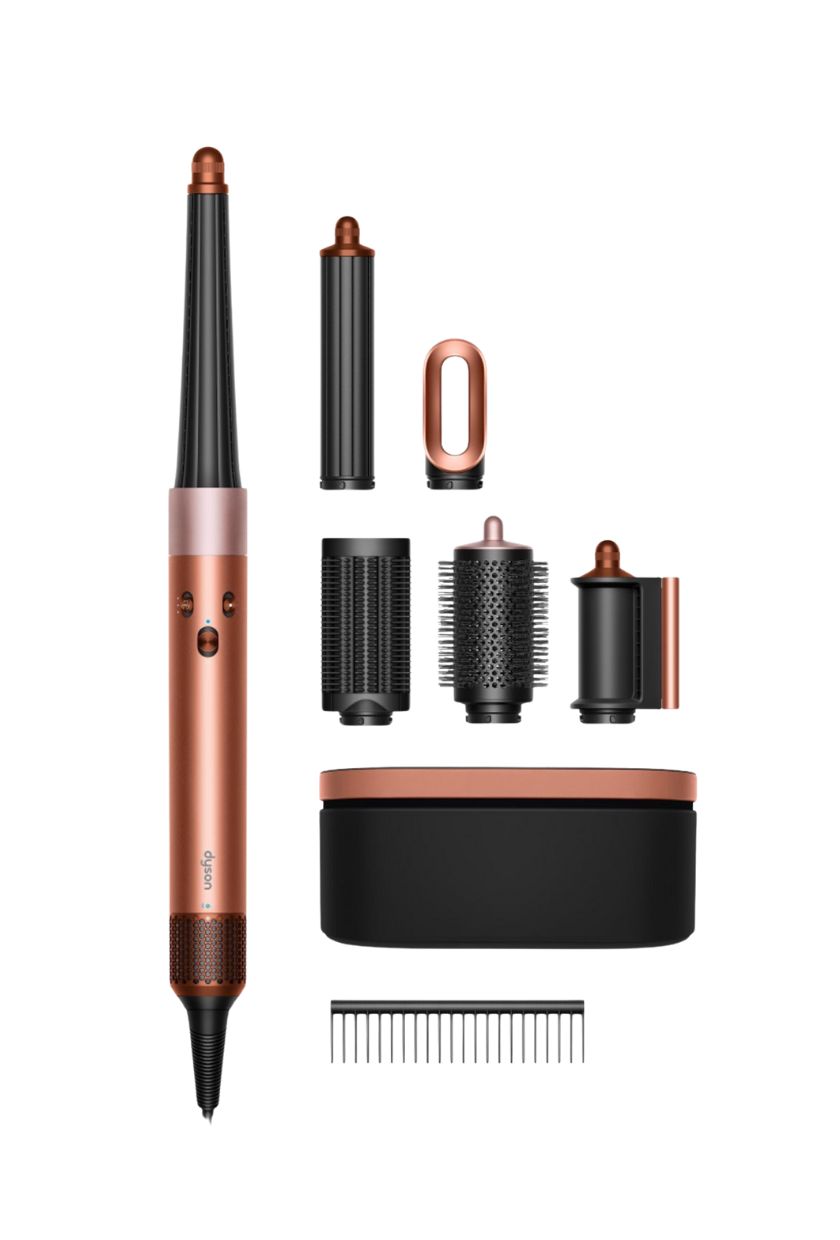
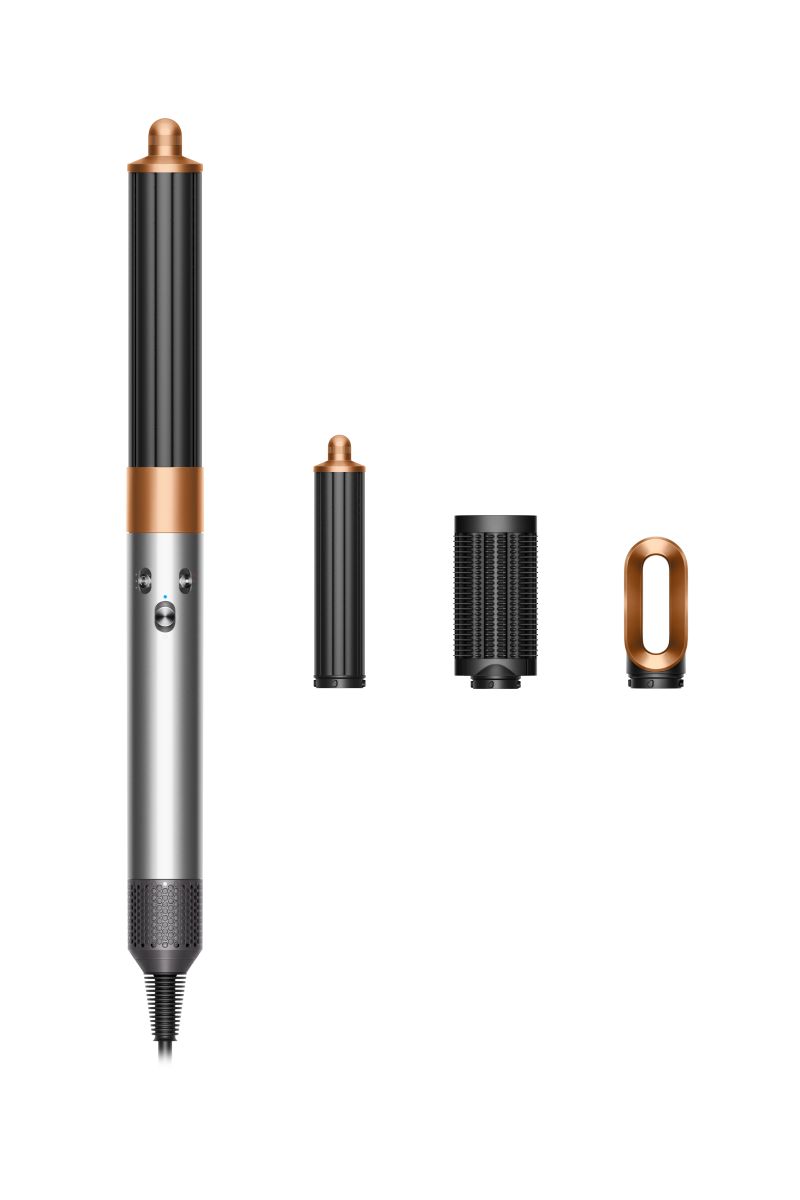
How to Use the Dyson Airwrap (and Actually Get Your Style to Last)
Not sure how to use the Dyson Airwrap? Our beauty editor walks us through step-by-step with all the tips and tricks you need to know to make your style last.

Welcome to How to Hair. Think of this series as your go-to guide to achieve your best hair yet. Whether you want to master a certain hair tool, work out how to wear a new hairstyle or if you're just in need of some hair inspiration, our beauty editor Eleanor Vousden is here to talk you through what you need to know, step-by-step, with plenty of insider intel along the way. Allow How to Hair to become your trusted guide on the journey to great hair days—every day.
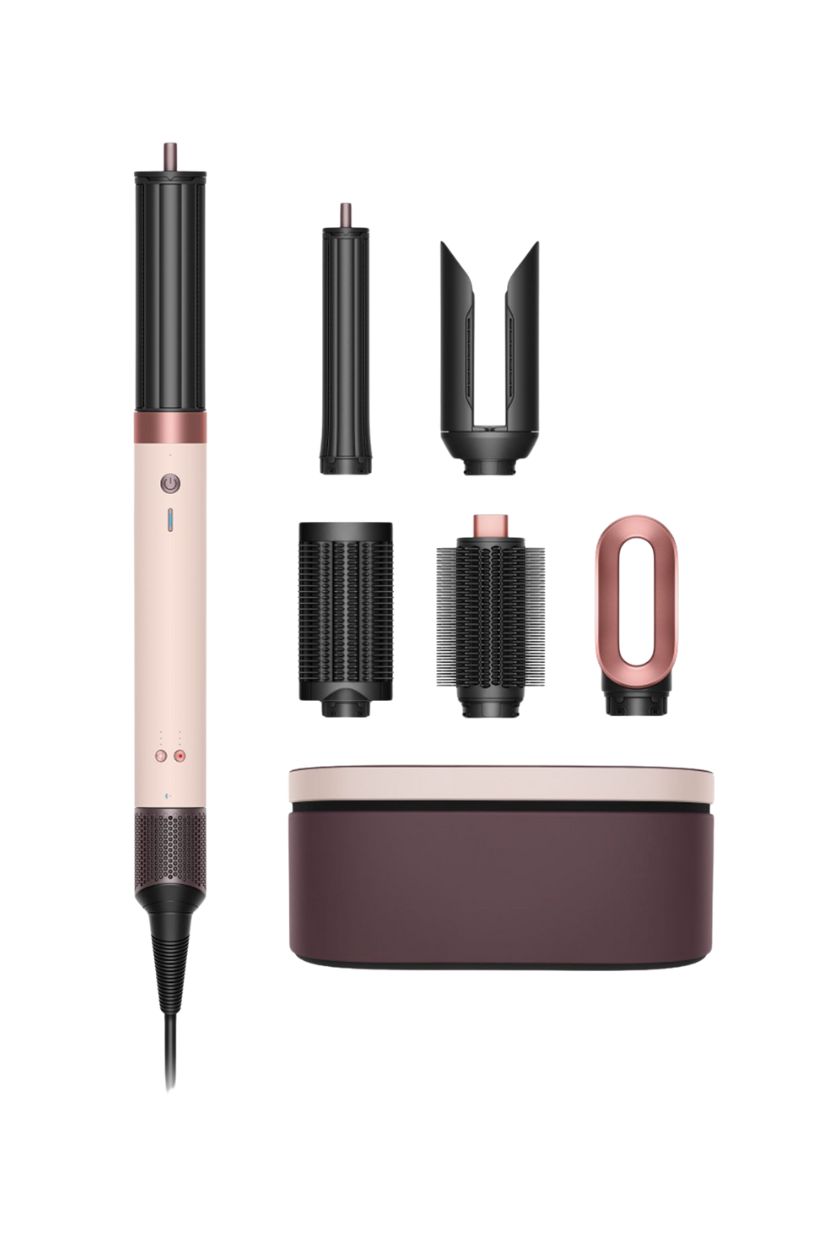
So, you bought the Dyson Airwrap (or you're planning to). And now you're probably wondering how to use it. As a hair-obsessed beauty editor who has been the proud owner of the Dyson Airwrap for four years (and who has tried three different models of the hair multistyler), even I can admit that it takes a little know-how and practice to master. With more attachments than a standard hot brush, you need to have a little patience and know-how to get to grips with this airstyler.
In fact, I'm often asked by my colleagues and friends how to use the Dyson Airwrap (and my For You Page is filled with people who are unsure, too), so I figured it was high time I put pen to paper with a step-by-step guide including all the tips and tricks on getting the most from your attachments, and, most importantly, making your curls last. This is by far the question I get asked the most when it comes to the Dyson Airwrap—and yes, it can be done.
Plus, with the launch of the new Dyson Coandax2, the latest Airwrap model, I decided to tick two boxes at once and put it to the test at the same time. So, I've done all the legwork and have created a step-by-step guide on how to use the Dyson Airwrap for your bounciest blow-dry yet.
How to Use the Dyson Airwrap
1. Prep Your Hair
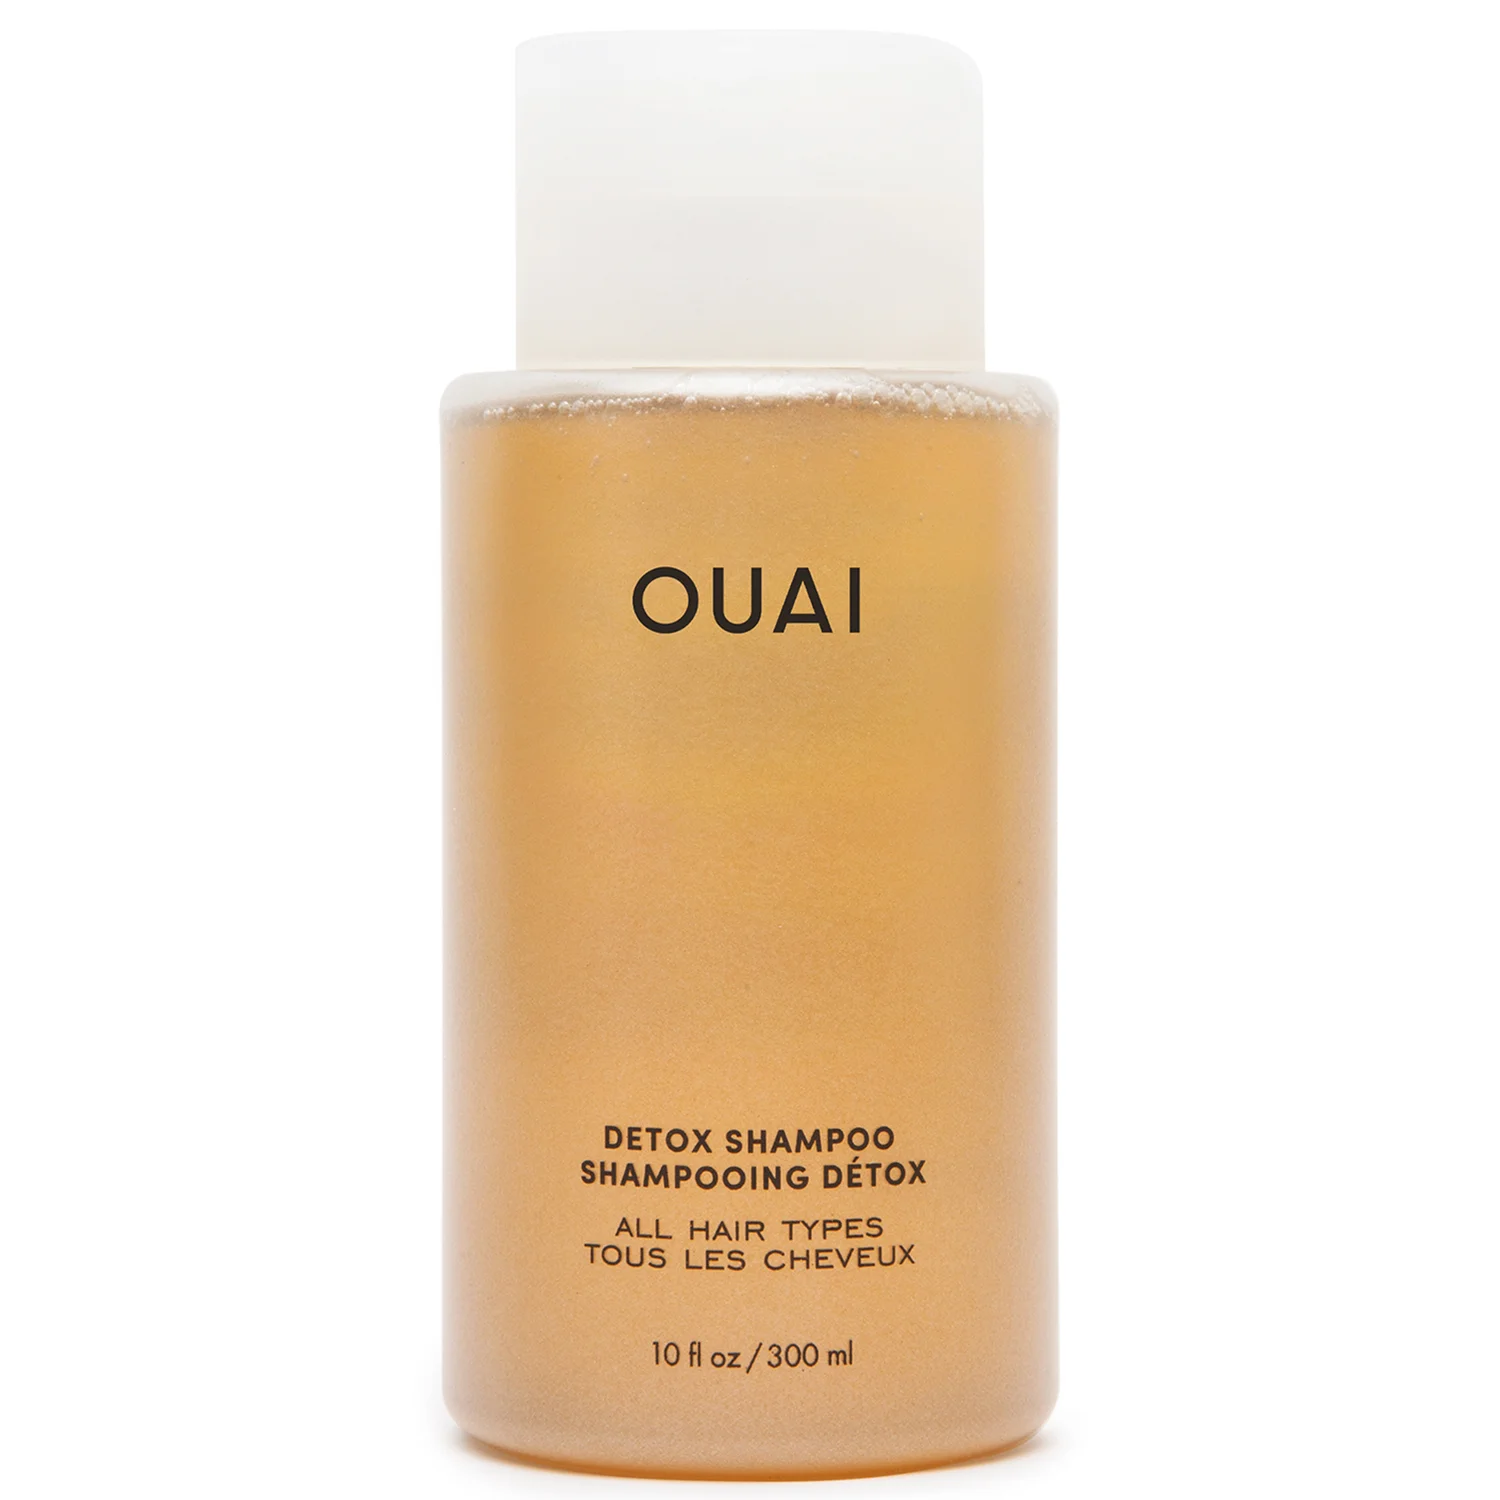
I'd argue that this is the most important step. If you're going for a bouncy blow-dry look, I have some pointers. Firstly, ensure your hair is thoroughly shampooed (ideally with a clarifying shampoo) to rid your roots of product build-up and oil that can weigh it down and make your style fall flat, especially if you have fine or thin hair. When the hair is cleansed, your roots will have more volume, and the lengths will have more bounce.
As someone with thick and wavy frizz-prone hair, my favourite shampoos are Ouai Detox Shampoo (£28) and Philip Kingsley Flaky/Itchy Scalp Shampoo (£31). I'd also recommend using a lightweight conditioner to avoid weighing down the ends. I love Kérastase Premiere Bond Advanced Conditioner (£41), or I like Living Proof Perfect Hair Day Hair Gloss (£30) as a hair-gloss treatment for added shine.
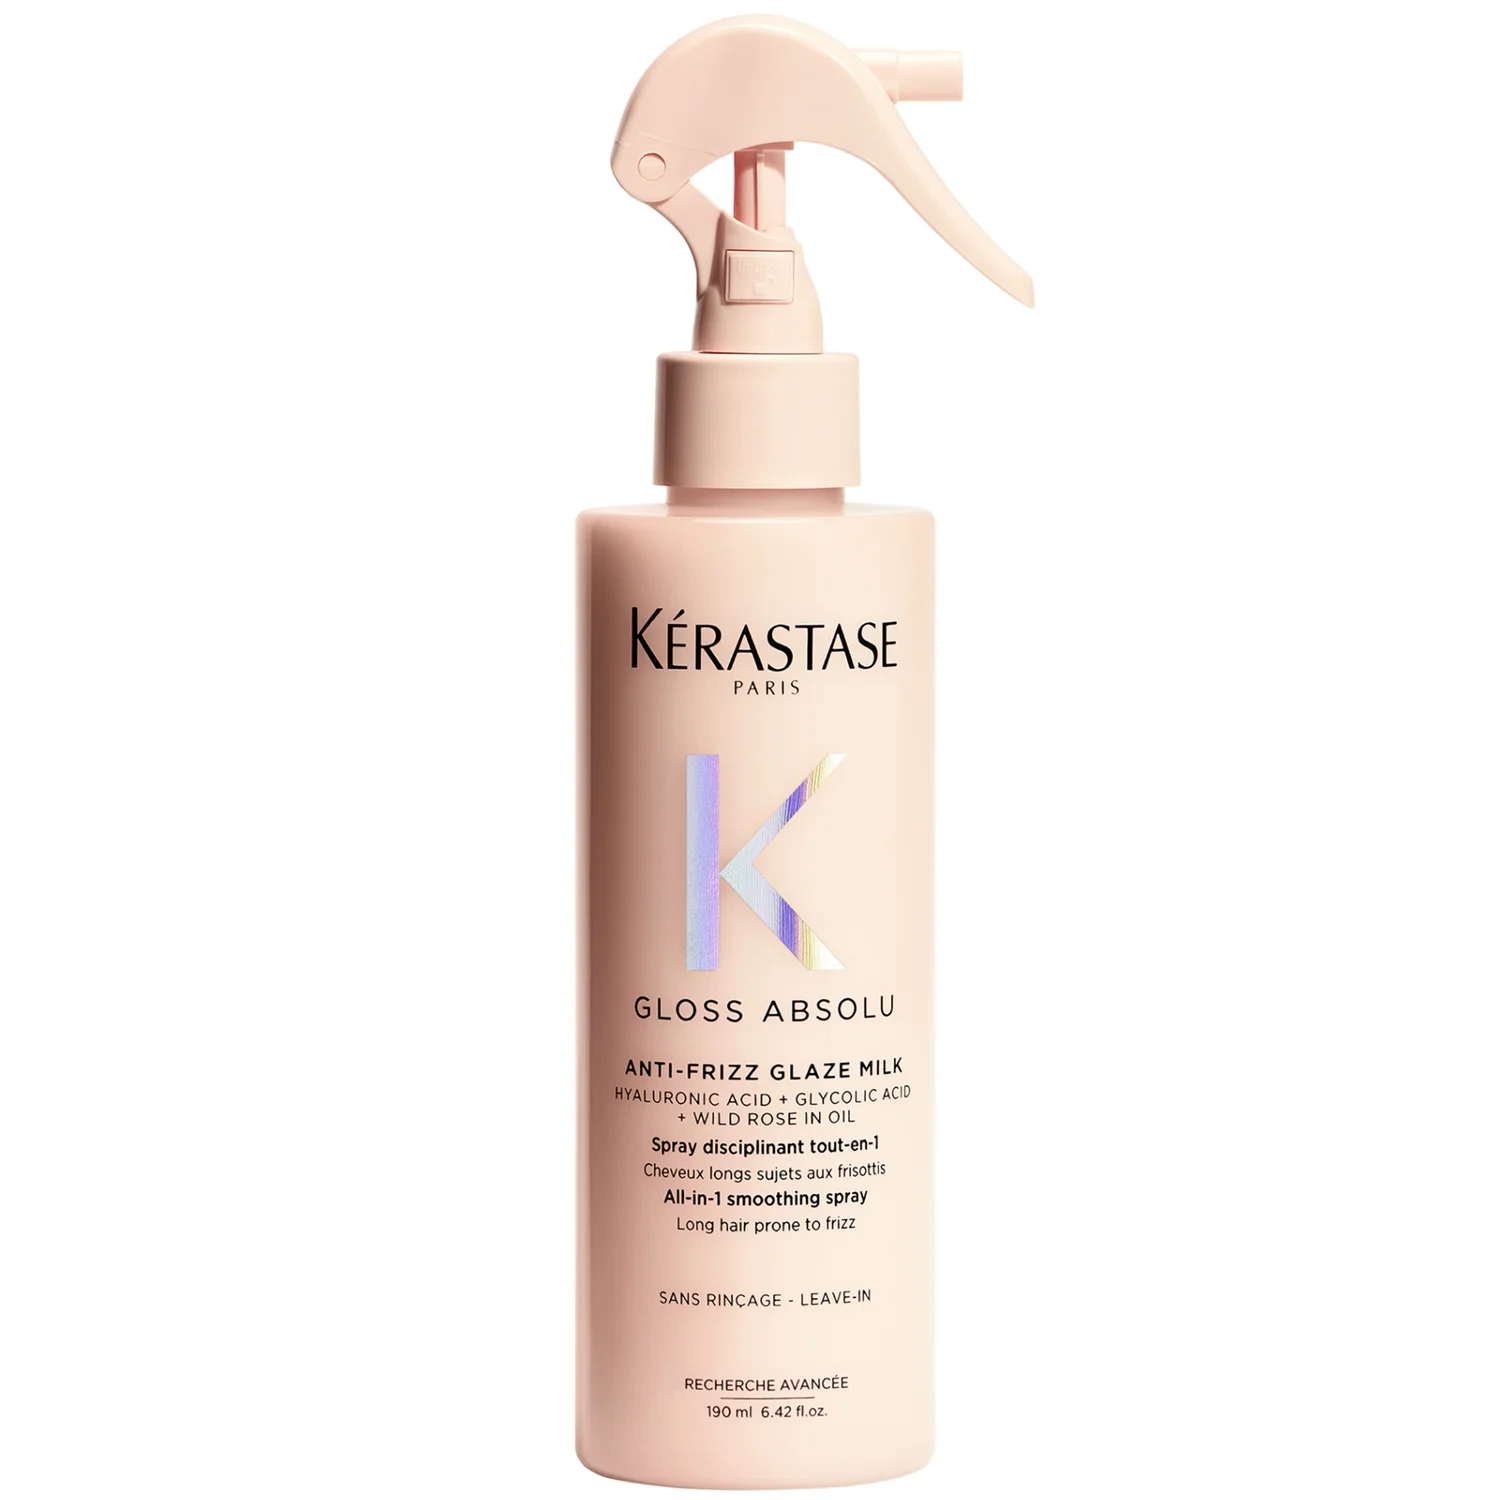
On towel-dried hair, I like to apply a heat-protectant spray (here, I'm using Kérastase Gloss Absolu Anti-Frizz Glaze Milk (£43), and depending on your hair type, you may also like to use a hair mousse, a hair serum or volumising products before styling to help give your hair extra hold, volume and bounce. Just be careful not to overload it with too much product.
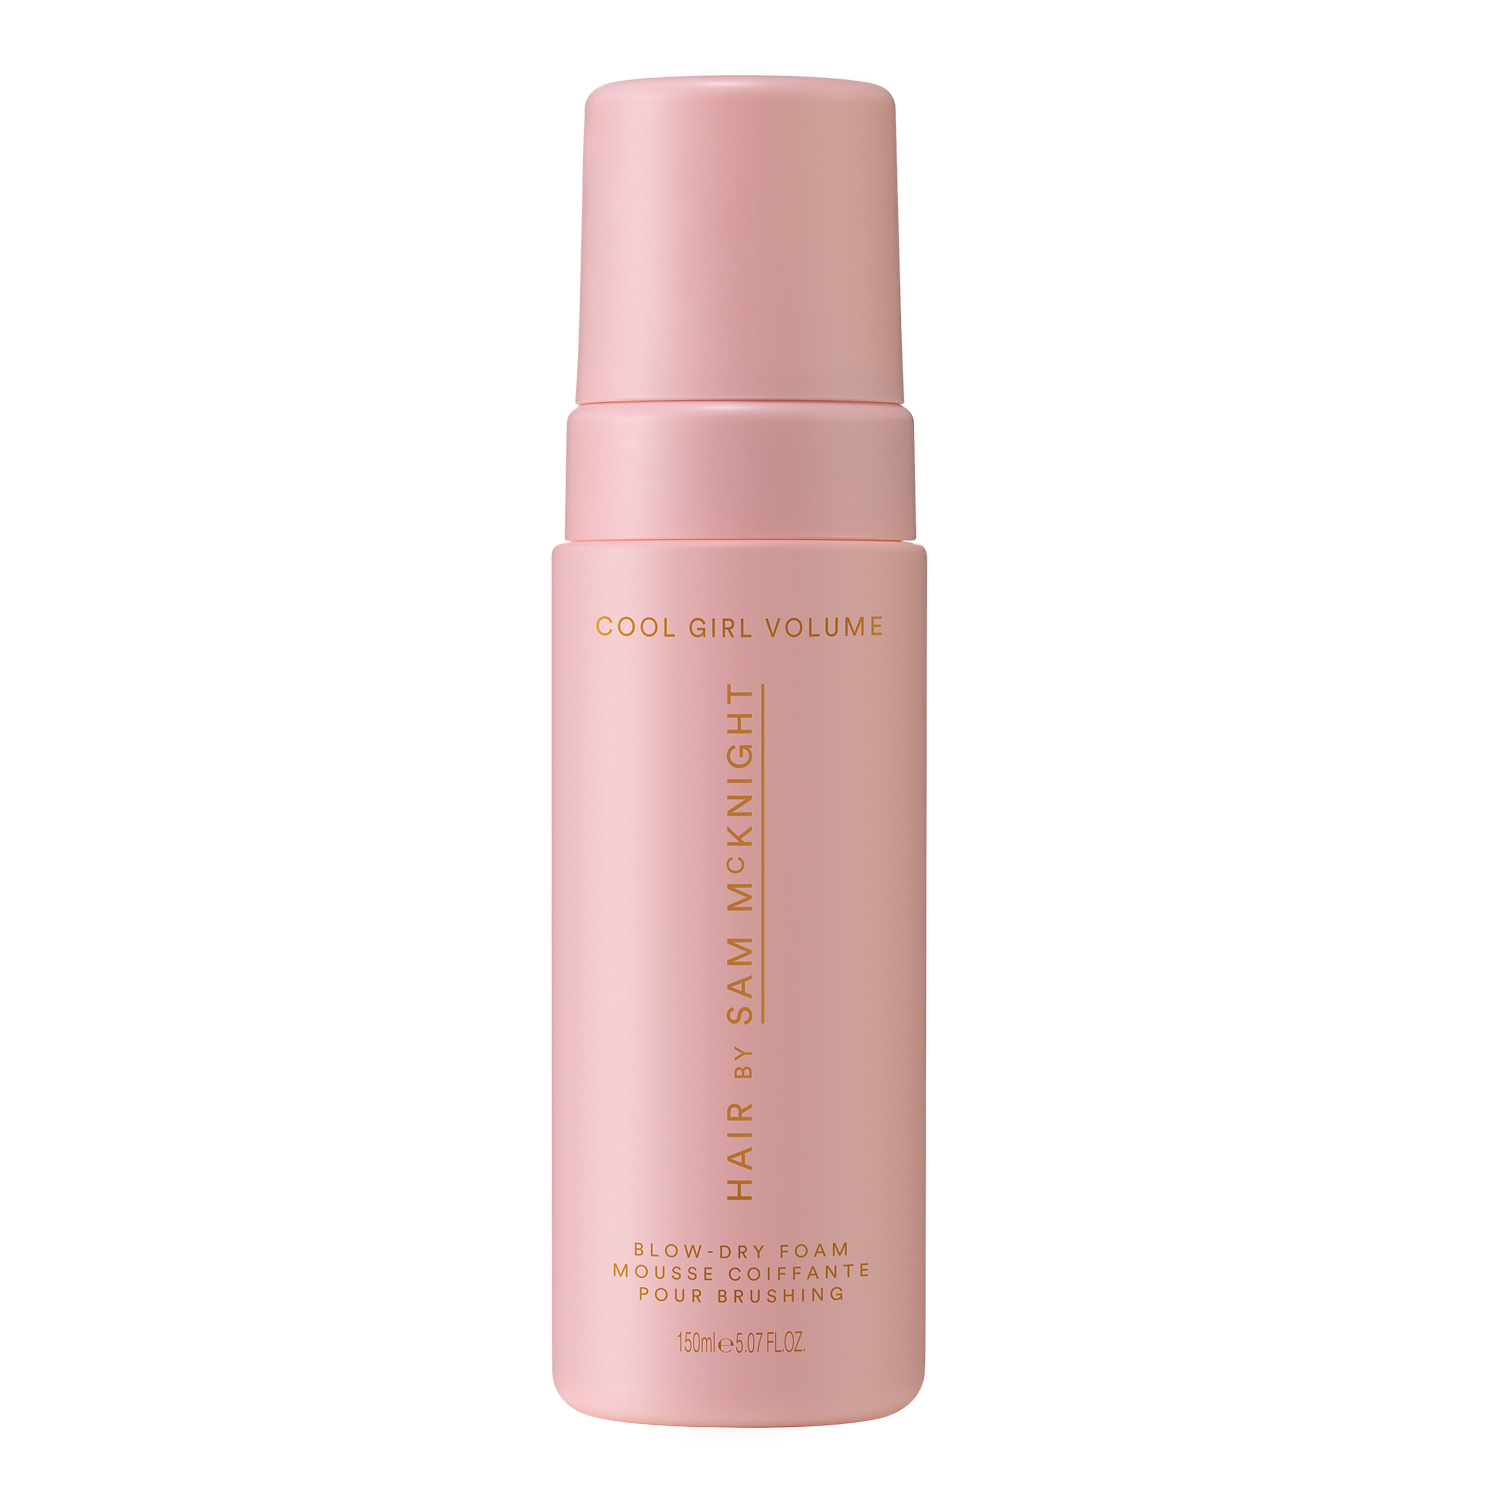
A favourite of mine is Hair by Sam McKnight Cool Girl Volume Blow Dry Foam (£28), which has a foam texture that helps to lock in the style without weighing hair down, and I'll run a little of Dyson's Chitosan Pre-Style Cream (£26) through my lengths to help prep my hair. I also swear by my trusty Wet Brush Detangler Brush (£8) to detangle my hair before styling and help distribute the product through the lengths.
Shop Pre-Styling Products:
2. Rough Dry
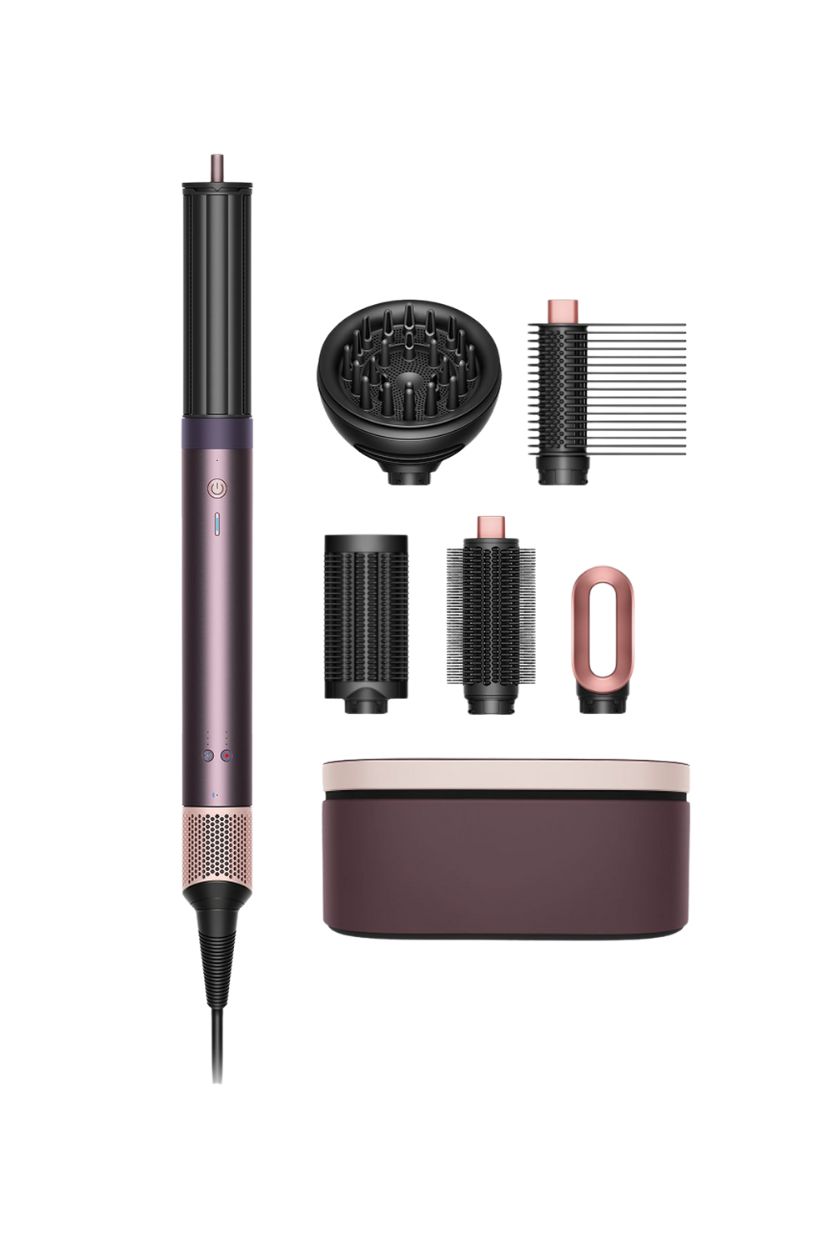
A very important PSA: You want to use your Aiwrap on hair that's 80% dry, so don't go straight in on wet hair! Start by rough-drying with the hair dryer attachment, paying attention to the roots. I like my roots to be totally dry, as it's harder to fully dry them with the other Airwrap attachments (especially if you have thick hair), and any dampness at the roots will make your style fall out more quickly. If you want an extra boost of volume here, tip your head upside down as you dry. You'll want to keep a little bit of moisture in your lengths before using the curling barrels, round brush or paddle brush, so leave the rest of your hair about 80-90% dry.
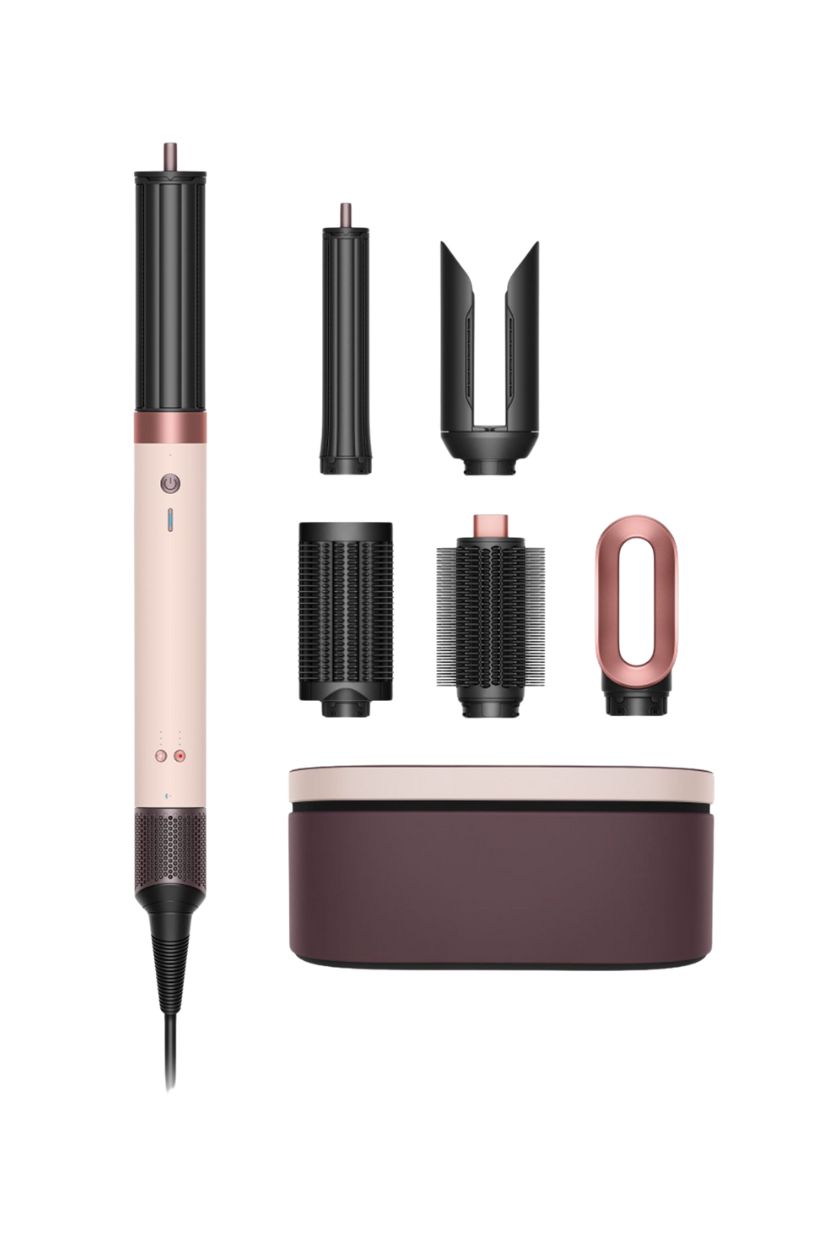
If you're going for a straight and sleek look, you can use the paddle-brush attachment to smooth and stretch the hair as you dry, before finishing with the Airsmooth attachment to smooth any remaining frizz or flyaways. Or, if you own one of the older Dyson Airwrap models, switch the hair dryer attachment to the Flyaway Smoother setting. If you want a bouncy look, scroll on.
3. Round Brush
The round-brush attachment is one of my favourites that the Airwrap offers. If you have a fringe or face-framing layers, I'd recommend using this to style them, but I'd also use this attachment throughout your entire head if you find your hair doesn't hold a curl with the curling barrels. With this one, you can achieve the necessary tension needed to create long-lasting styles with a bouncy blow-dry effect. When using the round-brush attachment, you want to twirl a section of hair around it a couple of times, rolling your hair over it for more volume at the root, or under it, like I am above, for a face-framing, soft curl.
And here's the secret to making it last. Once your section is fully dry and you've run the round brush through it a couple of times, you want to roll the entire length of that section of hair around it and use the cold-shot button to cool the hair. Alternatively, you could use hair rollers to help the curls set as the hair cools. Cold air will help lock in the style, whereas releasing the hair too soon when it remains warm will make your style drop more quickly.
Think of it like a candle: when the wax is warm, it's fluid and malleable, but when it cools, it solidifies into shape. The same goes for your hair, so get to know your cold-shot button and use it for a lot longer than you think you need to bring your hair from hot to cool. I'd go for at least 10 seconds for each section, or longer for thicker hair.
4. Curl
You have two curling attachments to choose from: the larger barrel or the narrower one. The former will give you a soft, looser curl, whilst the smaller barrel will result in tighter curls. If your curls drop out quickly, go for the narrower barrel. Similarly, if your hair is all one length (no layers), you may also benefit from using this version. The heavier your hair, the more the curl will drop, so a tighter curl is your best bet at getting your style to last. However, if you want a soft ripple through your hair, the larger barrel will deliver a much softer curl. I also like to use this size on my face-framing layers, which tend to hold a curl better and so don't require as much spring.
Now you've chosen your curling barrel, take a 1 to 2" section and allow the barrel to latch onto the ends of your hair. Smaller sections are best for the air and heat to reach the hair evenly; if the section is too large, your Airwrap has to work harder to dry and style. Gently guide your hair as it wraps around the barrel.
The thickness, texture and length of your hair will determine how long to hold the curl in place. On the newer Coandax2 model, you can pair it with the MyDyson app, which helps you determine the perfect amount of time for you (and it will auto-sync with your Airwrap via Bluetooth, so you don't even have to touch any of the buttons, which is a really great feature of the new model). But, as a general rule of thumb, you want to hold it until your hair feels dry to the touch (usually 10 to 15 seconds is enough once the strands are fully wrapped around the barrel).
As I mentioned in the previous section, it's crucial to let your hair fully cool before releasing the section from the barrel. I like to use the cold-shot button for 10 to 15 seconds to allow the hair to fully cool and set. This is the most common mistake I see people making with their Airwraps, and it will affect how well your style lasts. When you come to release the curl, ensure that the airflow has also stopped.
Your curl direction will also affect the overall result. Curling in one direction will give a face-framing, glamorous look, whilst alternating the curl direction will give you a more beachy and volumised finish. I like to curl all in the same direction, and flick the direction switch on as I come to do the other side of my hair.
5. Brush Out
If your result resembles 2002 prom-queen curls, don't panic. You can gently rake your fingers through your lengths to soften the curl, though they will also drop out slightly throughout the day, so you don't want to disturb them too much with a hairbrush or comb. Your fingertips are enough to gently tease out the curls in any places you feel need it.
6. Smooth
If you're frizz-prone, the Airsmooth attachment (or the smoothing setting on the older Airwrap hair dryer) is great for smoothing any stragglers around your crown. I'd avoid running it down the full length of your hair so you don't disturb your curls, but I like to use it around the roots to tuck in flyaways for a smoother result.
If you're straightening your hair with the Airwrap, however, this is a great final step to add a polished finish. Whilst it won't completely straighten your hair like the Dyson Airstrait will, it's great as a finishing step for extra smoothness and shine, and for topping up second-day hair that's developed flyaways or frizz.
7. Hair Products
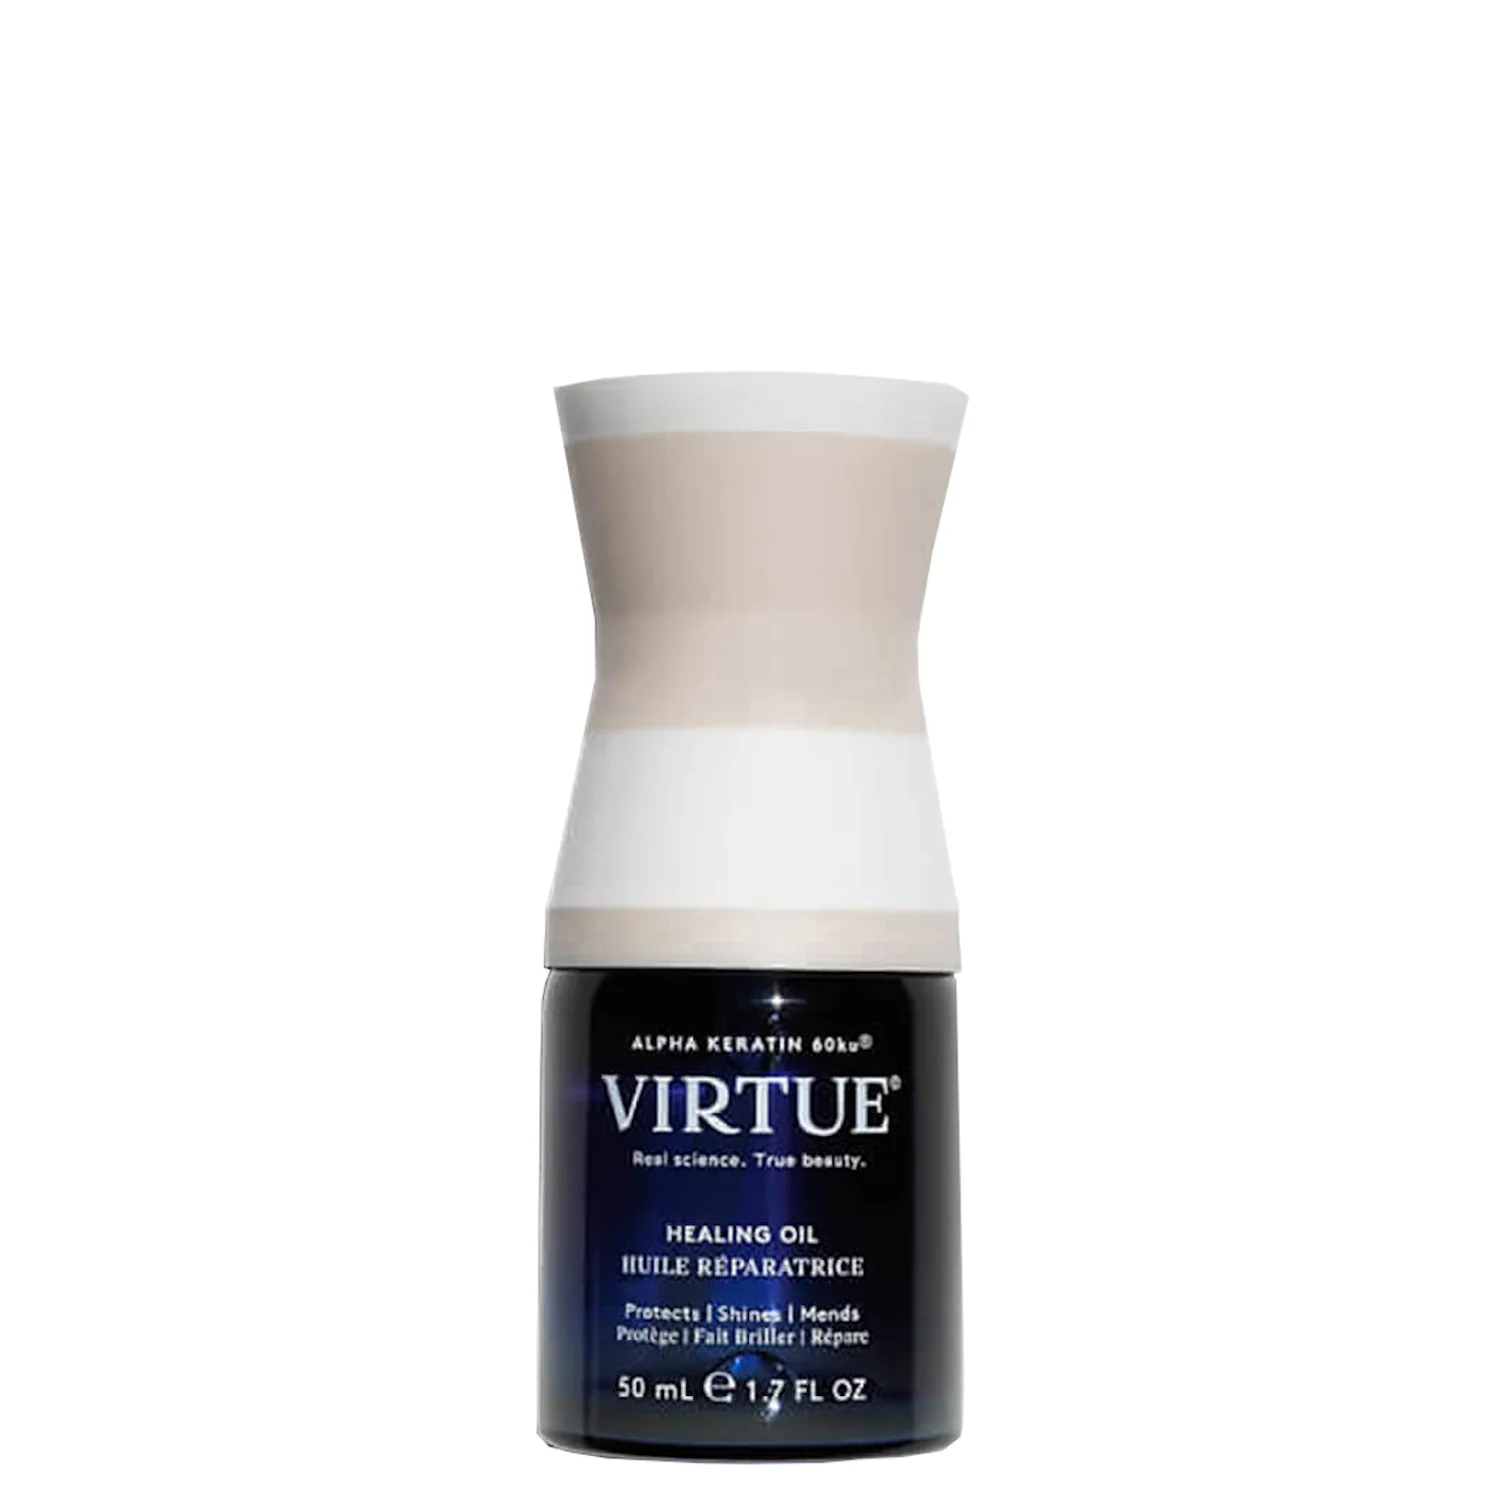
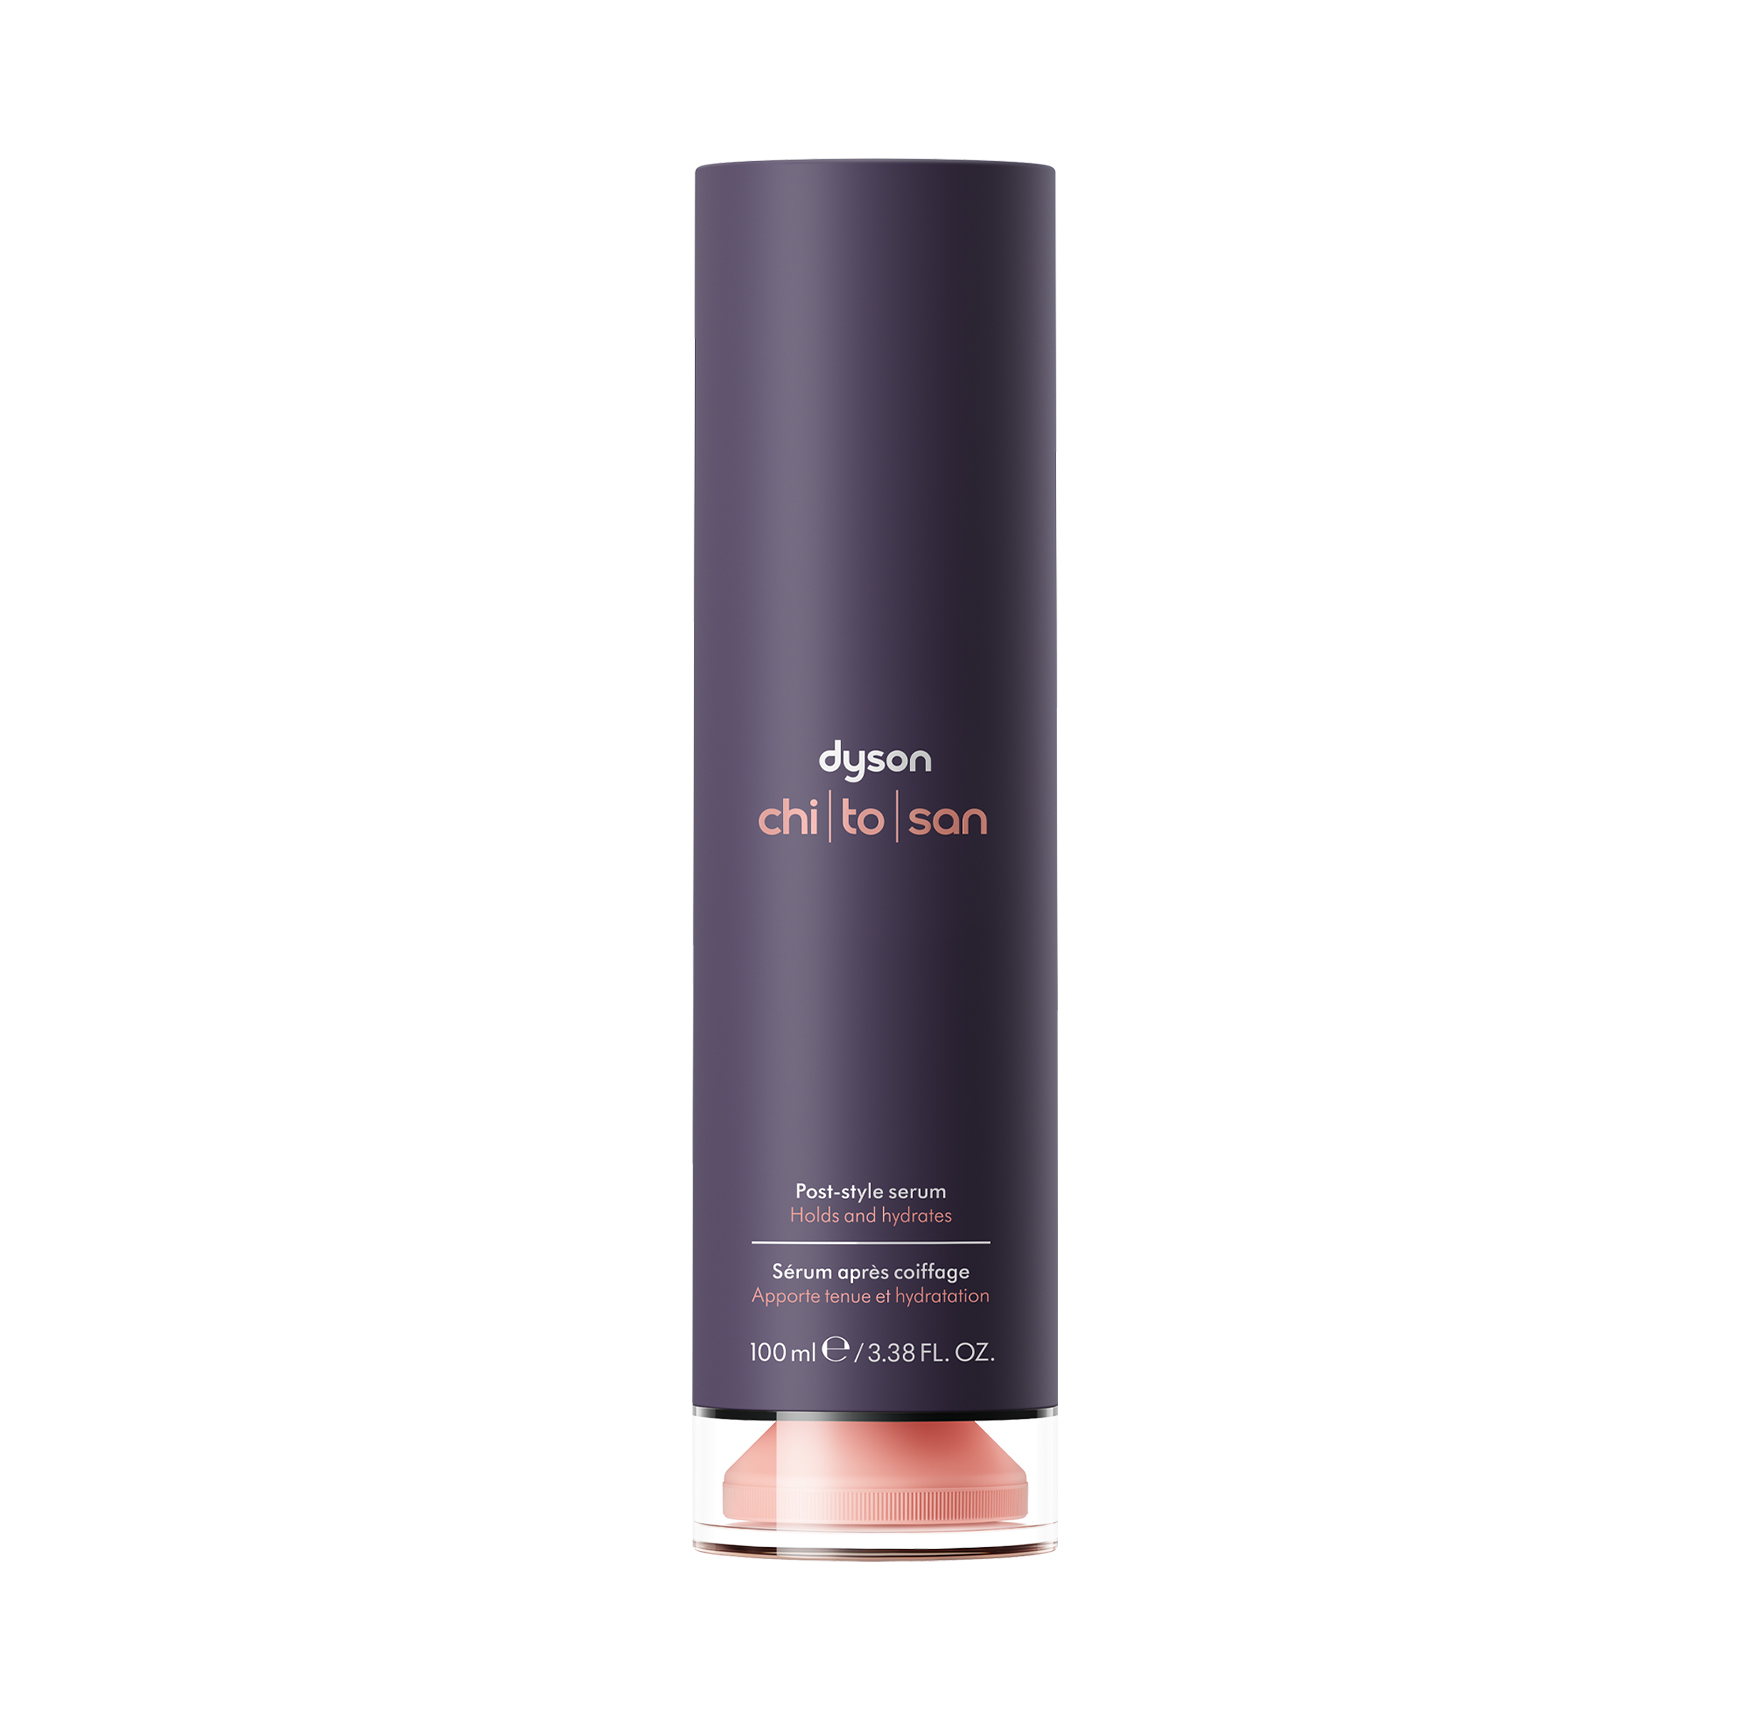
Once you're happy with your styling, you can apply some product to finish and enhance the hold. I like using a lightweight hair oil or serum to smooth and add a glossy shine. My personal favourites are Kérastase Gloss Absolu Glaze Drops (£39) and Virtue Healing Oil (£43), which is so lightweight, even on fine hair, or the new Dyson Chitosan Post-Style Serum (£50).
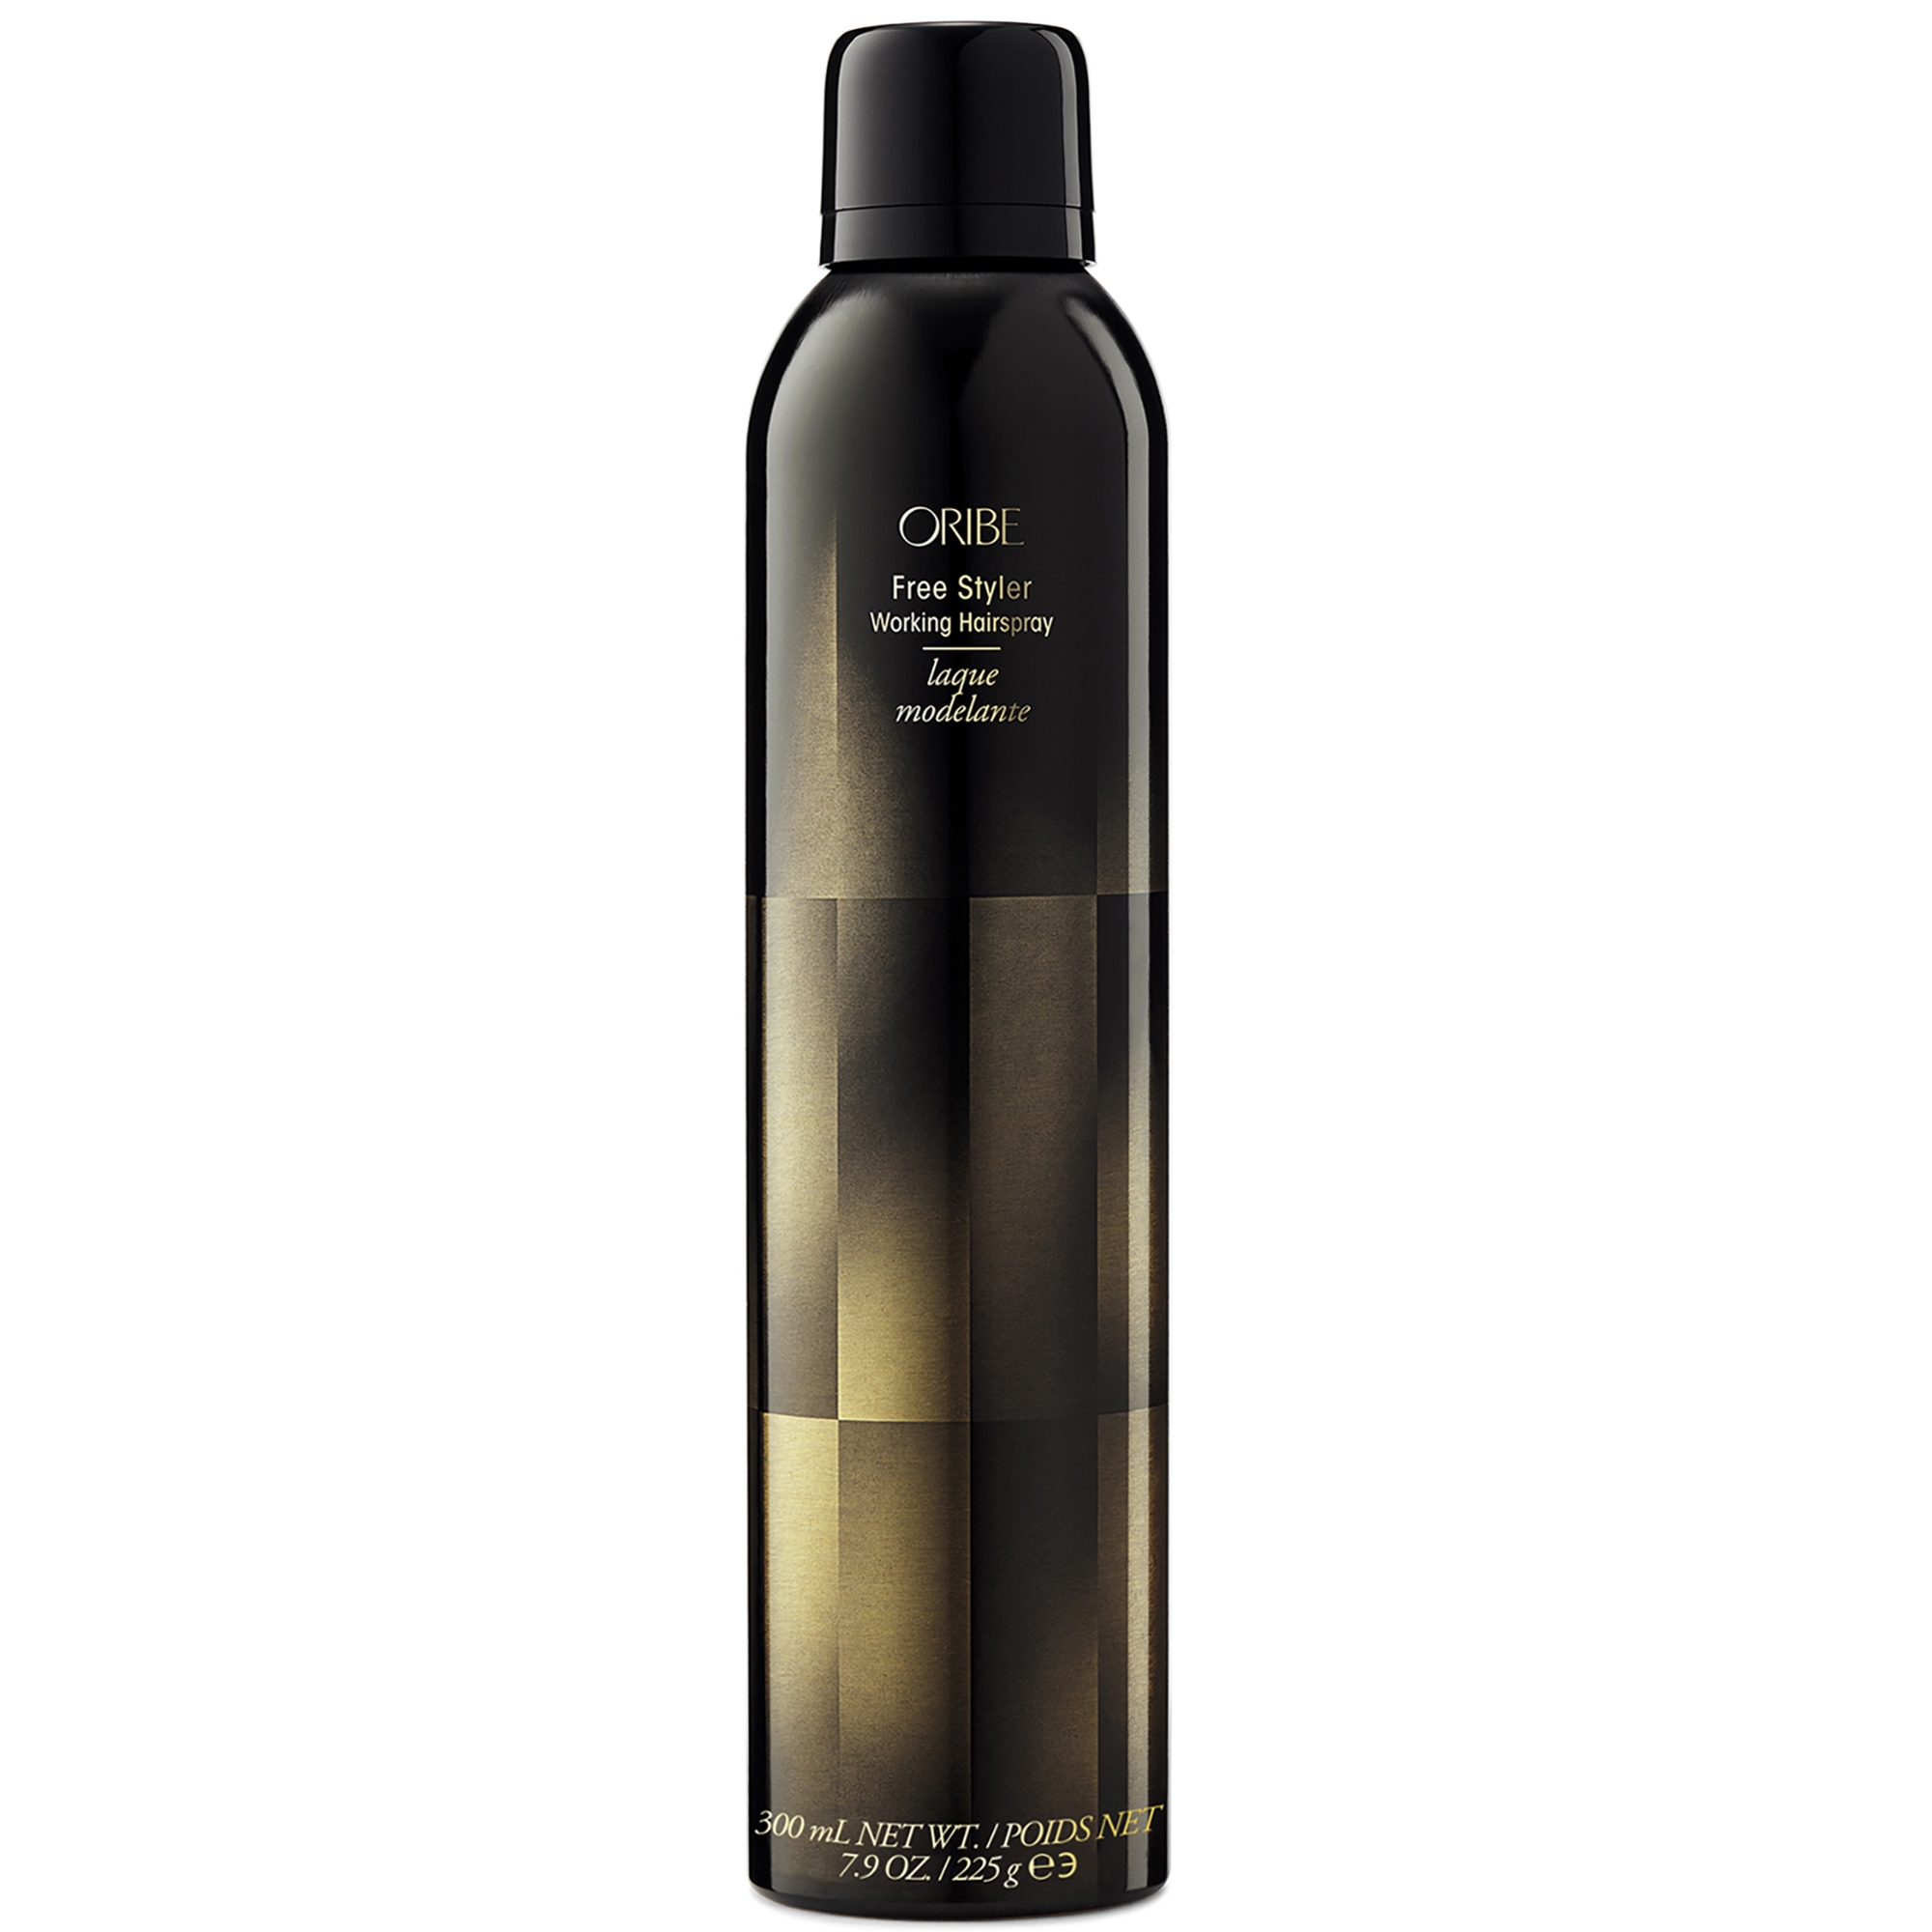
You can also add a light touch of hairspray to each curl to keep your style in place; I like Oribe's Free Style Hairspray (£43), which adds flexible hold and prevents hair from feeling crispy. Alternatively, a texturising spray like Hair by Sam McKnight Cool Girl Texture Mist (£28) can give a relaxed, undone look if you feel your hair is looking too polished, and it will also add some grip.
Be careful not to overload your hair with product to avoid weighing it down and encouraging the curls to drop more quickly. A light touch is always best, so go easy.
Shop Styling Products:
8. The Result
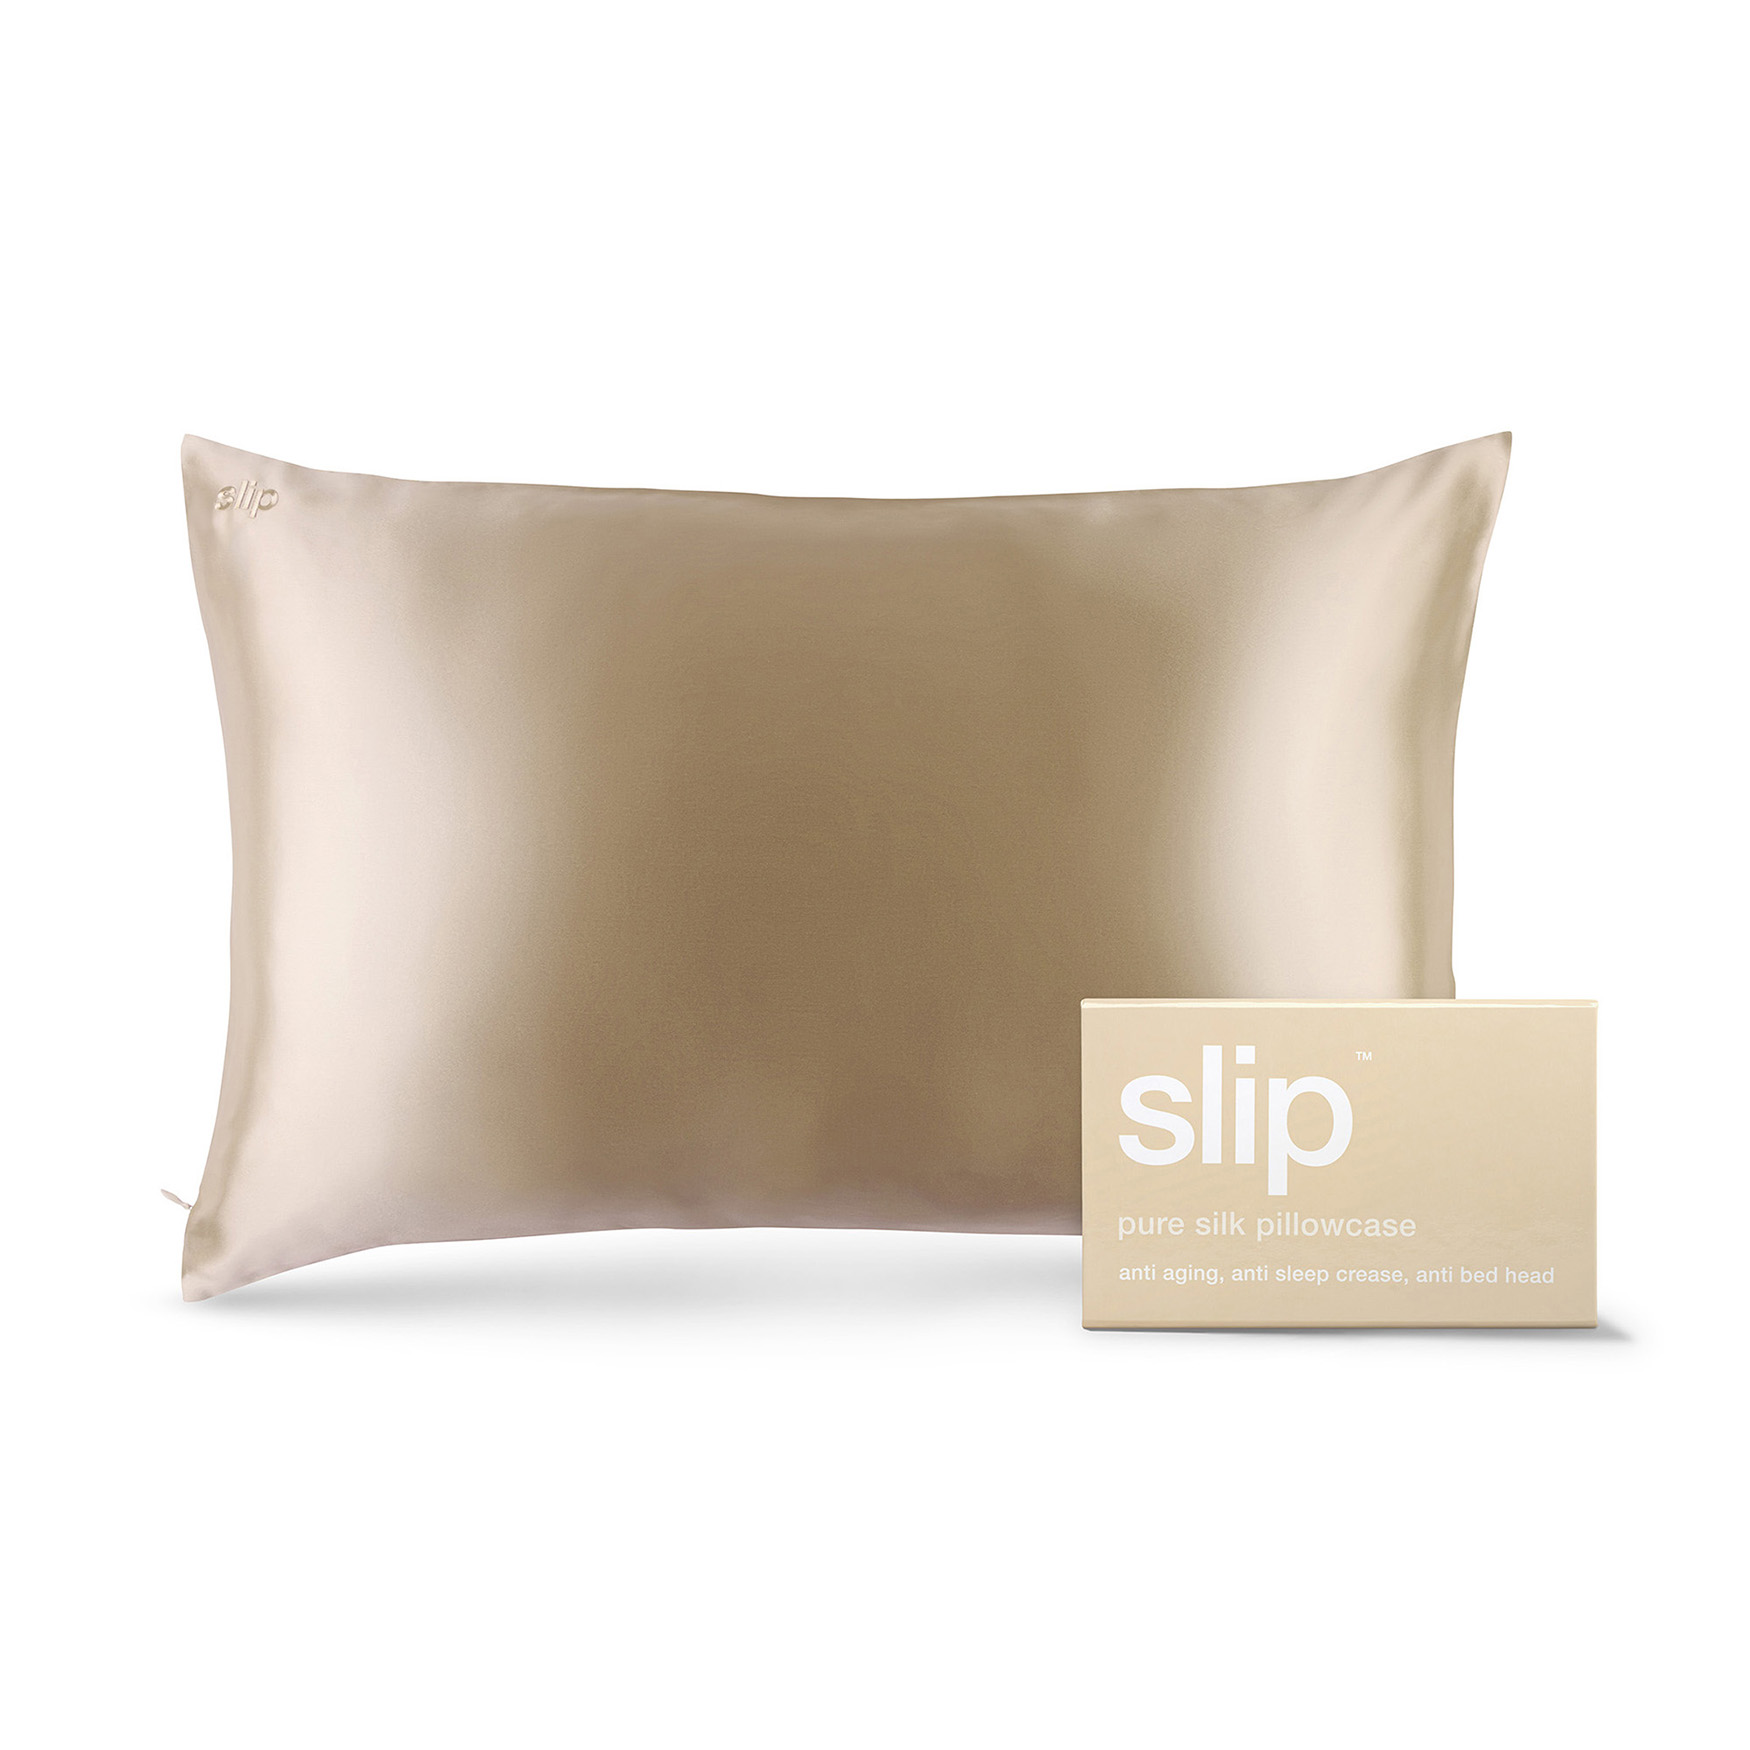
I have a couple of final tips to make your curls go the extra mile. Firstly, avoid touching your hair too much throughout the day, which can, again, make the curls drop more quickly. I also like to wear my hair in a loose bun overnight using a silky scrunchie and sleep on a silk pillowcase to help keep my blow-dry looking good into the next day.
Personally, I find that the most long-lasting curls come from a curling wand or tong, but the beauty of the Dyson Airwrap is that it uses far less heat compared to other styling tools. And, you can always touch up your curls the following day if needed, by lightly dampening any sections that need it and re-curling them for extra bounce on second-day hair.
Shop Post-Styling Products:
Shop the Dyson Airwrap:
Eleanor Vousden is the beauty editor for Who What Wear UK. She was previously deputy editor at Hairdressers Journal, health writer at Woman & Home and junior beauty editor at Powder. She has also contributed to Wallpaper and Elle Collections.
With a degree in fashion journalism from the London College of Fashion, she has 10 years of industry experience and has been highly commended at the BSME Talent Awards for her work on Powder and also contributed to the title winning Website of the Year at the PPA Awards.
Eleanor’s journalistic focus is providing readers with honest and helpful beauty content. She has interviewed celebrity makeup artists, hairstylists and dermatologists throughout her career, as well as celebrities such as Hailey Bieber, Sarah Jessica Parker and Scarlett Johansson.
